
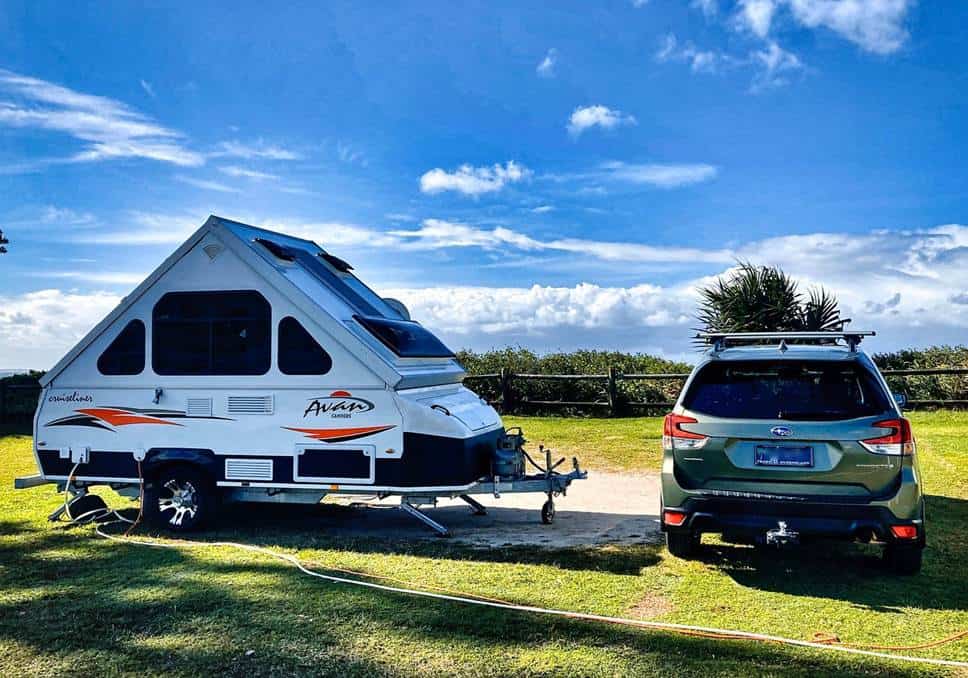
Starting your RV adventure doesn’t have to be intimidating. Pop-up campers are a great first step into camping life, offering budget-friendly prices with simple operation that works perfectly for beginners. Both new and used camper models are very affordable. Most weigh less than 3,000 pounds, which means your family SUV can tow them safely. With this pop-up camper towing guide, you’ll quickly gain the skills and knowledge to handle towing, parking, and setting up at your favorite outdoor spot.
Pretowing Checklist: What To Inspect Before You Roll
Road safety starts at home with a 15-minute check that can prevent accidents and costly repairs. Check the tires first. Use a pressure gauge on both the vehicle and trailer. Look for worn spots, cracks, or signs of a possible blowout.
Test your brake controller to confirm it engages the trailer brakes when you hit the pedal. Walk around and check every light, including brake lights, turn signals, and running lights. Attach safety chains correctly and confirm the hitch connection matches the ball size.
Check tongue weight for proper balance. Many small pop-ups exceed the 3,500-pound towing limit, making weight balance important for smaller vehicles. Top off all fluids before leaving, including oil, transmission, brake fluid, coolant, and windshield washer fluid.
How To Tow a Pop-Up Camper Like a Pro
Towing a pop-up camper takes practice, but you’ll learn fast. Drive 10 to 15 mph under posted limits for better control and reaction time. Maintain a following distance of four to six seconds instead of the usual three seconds, as your vehicle needs extra room to stop.
Take wider turns to avoid curbs catching your trailer’s wheels. Use extended mirrors and check twice before changing lanes, as your trailer blocks the rear view. When going downhill, stay in the right lane, use hazard lights if moving slower than traffic, and shift to a lower gear so the engine helps control speed and reduces wear on the brake pads.
Bad weather affects lightweight pop-ups more than larger ones. Side winds can push your trailer, making steering more difficult. Slow down in gusty wind, and if conditions become challenging, pull over so you can wait it out.
Arriving at the Campground: Parking and Leveling
Choosing the right spot for setting up a pop-up camper can make or break your camping trip. Stay close to hookups if you need electricity and water, and avoid soft or muddy spots that can sink your stabilizer jacks. Take time to inspect the site, as moving later is a huge inconvenience once you’re partly set up.
Parking your camper takes patience, especially when backing in. Turn left to move the trailer right. Have someone outside to guide you and agree on hand signals beforehand.
Level ground is essential for safety and comfort. Your fridge, water heater, and toilet only work properly when level, and you’ll sleep better with doors that move smoothly. Start by leveling side to side with blocks, then adjust front to back using a tongue jack. Place pads under jacks on soft ground, and block your wheels. A bubble level or a phone app helps check your work.
Safe Camper Setup: Raising the Roof and Securing Components
Pop-ups use three main roof lift systems. Winch cables use a hand crank to lift the roof. Spring-loaded arms operate smoothly with less effort. Crank systems use screw jacks or scissor arms, which are strong and self-locking but add extra weight.
Raising the roof requires good technique. First, check for branches, power lines, or structures that could cause damage. Crank slowly and listen for unusual noises that may signal problems. Keep your hands safely on the handle and never force movement. Once the roof is fully raised, confirm that all locks have clicked into place.
Setting up stabilizers and the tent canvas needs care. Lower each leg until it touches the ground, then tighten until firm but not strained. Pull out the beds and ensure all supports lock properly. Handle the canvas carefully to avoid tears. Pull fabric evenly and secure attachment points all the way around, paying close attention to the corners, where stress is highest.
Electrical, Water, and Propane Setup
RVs use two electrical systems. The 12V DC system runs on batteries for lighting and other basics, while the 120V AC system powers larger appliances. Two main hookup types are usually offered at campgrounds — 30 amp and 50 amp services, providing up to 3,600 watts and 12,000 watts, respectively. Always switch off the breaker before connecting to the power source.
Connect to your RV first, then the power post, using a surge protector to guard against spikes. Test connections before plugging in expensive items. Keep electrical components away from water and test safety outlets monthly. Check adapters for damage, discarding any that show burning, melting, or loose parts.
Set up your water supply by connecting your hose to the campground spigot. Check for leaks and test pressure to avoid damaging fixtures. Propane requires extra precautions. Inspect tanks for rust or damage, especially around welds and fittings. As bubbles indicate leaks needing immediate repair, use soapy water to check connections. If you detect a leak, shut off the tank if it’s safe, evacuate the area, and call for help.
Expert Support and Service You Can Trust
Good safety habits turn what looks like a difficult job into just another part of your camping experience. While pop-ups are designed to be beginner-friendly, having expert help ensures peace of mind so you can enjoy your outdoor time.
Our team at Cheyenne Camping Center in Walcott, Iowa, can help you master the skills you need for safe, fun camping trips. Our focus on teaching means you’ll never feel stuck as you build your camping skills and create lasting family memories.
Image by MemoryCatcher is licensed with Pixabay License